Natural light is the photographer's most versatile and accessible tool. Unlike studio lighting which requires equipment and setup, natural light is always available (during daylight hours) and completely free. Learning to harness its qualities can elevate your photography and allow you to create stunning images in any environment.
Understanding the Quality of Light
Before diving into specific techniques, it's important to understand that light has different qualities that affect your photos:
Hard Light vs. Soft Light
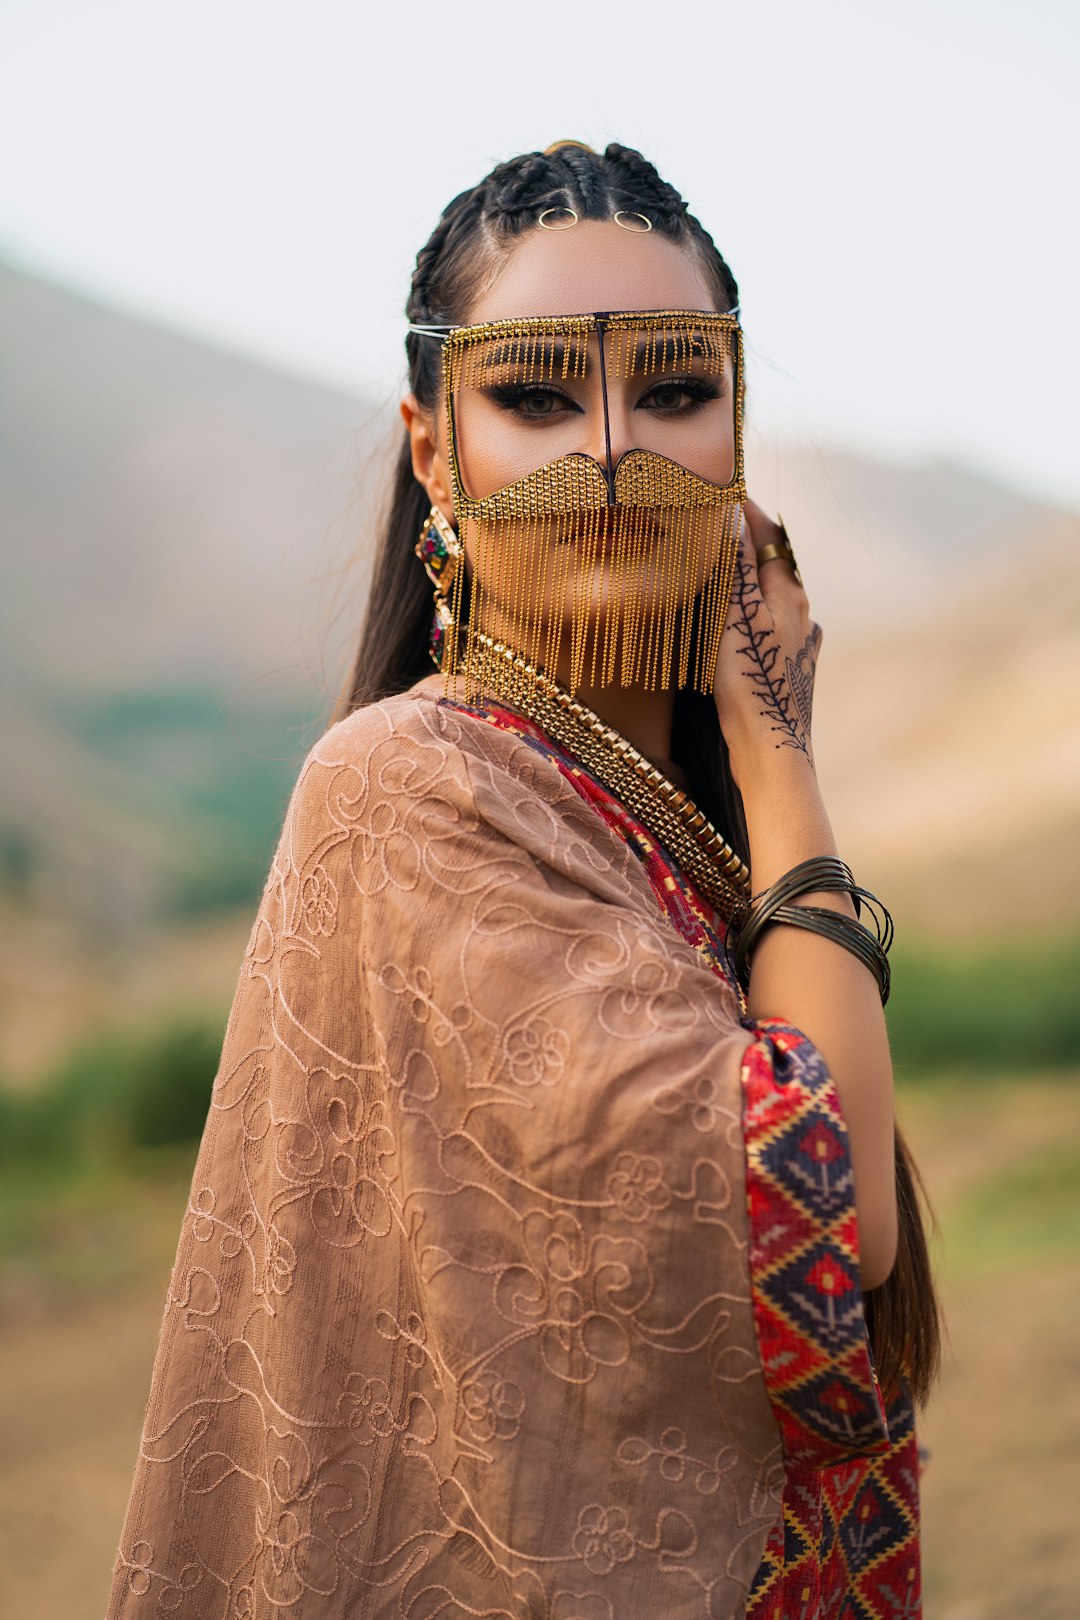
Hard light creates strong, defined shadows and high contrast. It's created by small light sources relative to your subject (like direct sunlight on a clear day). While challenging to work with, hard light can create dramatic, high-impact images.
Soft light produces gentle, diffused shadows with lower contrast. It comes from large light sources relative to your subject (like sunlight filtered through clouds or bounced off large surfaces). Soft light is generally more flattering, especially for portraits.
Direction of Light
The angle of light relative to your subject dramatically affects the mood and dimension of your photo:
- Front lighting (light coming from behind the photographer) evenly illuminates your subject but can appear flat.
- Side lighting reveals texture and creates dimension through shadows.
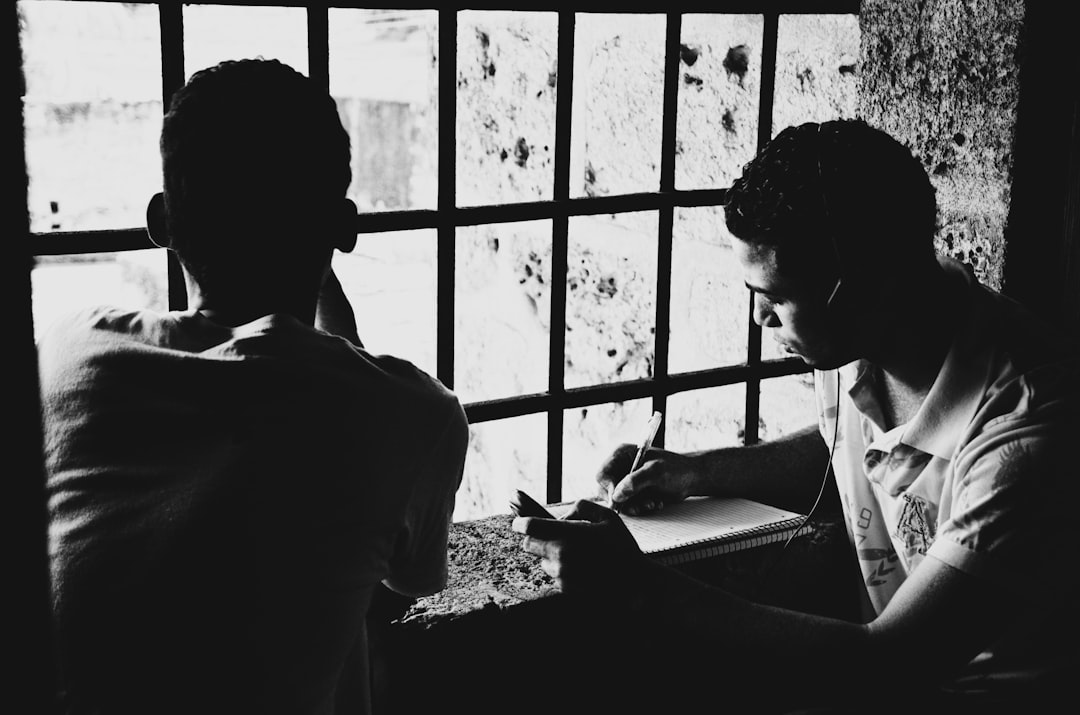
- Back lighting (light behind the subject) creates dramatic silhouettes or, when exposed properly, beautiful rim lighting.
The Golden Hour: Photography's Magic Time
The hour after sunrise and before sunset—known as "golden hour"—offers the most magical natural light. During these times:
- The sun is low in the sky, creating directional light that adds dimension
- The light has a warm, golden color temperature that flatters skin tones
- Shadows are longer but softer than midday
- The overall intensity is lower, making exposure easier to manage
To make the most of golden hour:
- Plan your shoots around these times (apps like PhotoPills can help predict exact golden hour times)
- Work quickly as the light changes rapidly
- Try backlighting for beautiful rim lighting and lens flare effects
- Use side lighting to highlight textures and create dimension
Working with Diffused Light
Overcast days are often underappreciated by beginning photographers, but they provide excellent conditions for many types of photography:
Advantages of Diffused Light
- Even illumination with minimal shadows
- Reduced contrast that captures more detail in highlights and shadows
- No squinting from subjects in portraits
- True color rendering without the warm cast of golden hour
Diffused light is ideal for:
- Portraits, especially close-ups
- Macro photography
- Forest and woodland scenes
- Product photography
Handling Challenging Light
Harsh Midday Sun
The midday sun creates the most challenging lighting conditions with strong contrast and unflattering shadows. To work with harsh sunlight:
- Find or create shade (under trees, buildings, or with a portable diffuser)
- Use reflectors to bounce light into shadow areas and reduce contrast
- Position subjects with their backs to the sun and use fill flash
- Embrace the contrast for dramatic black and white photography
Backlighting Techniques
Shooting into the light creates beautiful effects but requires careful exposure:
- Spot meter on your subject's face to ensure proper exposure
- Use exposure compensation to prevent silhouettes (unless that's your goal)
- Try a reflector to bounce light back onto your subject's face
- Partially block the sun with your subject for creative lens flare
Tools to Modify Natural Light
Even though you're working with natural light, a few simple tools can help you shape and control it:
Reflectors
A 5-in-1 reflector is perhaps the most versatile and affordable light modifier. It can:
- Bounce light into shadow areas (silver side for maximum reflection, gold for warming)
- Diffuse harsh light when used as a scrim between the sun and your subject
- Absorb light with the black side to create negative fill and increase contrast
Diffusers
A translucent panel placed between the sun and your subject softens harsh light. Many 5-in-1 reflectors include a diffuser panel.
Natural Reflectors
Be aware of natural reflective surfaces that can affect your lighting:
- Light-colored walls can bounce warm or cool light depending on their color
- Water creates reflections and interesting catchlights
- Concrete and sand bounce significant light upward, potentially filling shadows
Camera Settings for Natural Light
Metering Modes
In challenging lighting conditions, switch from evaluative/matrix metering to:
- Spot metering for backlit subjects
- Center-weighted metering for portraits
Exposure Compensation
Be ready to use exposure compensation to adjust for particularly bright or dark scenes. For backlit subjects, +1 to +2 stops is often necessary.
Dynamic Range Considerations
When the contrast between highlights and shadows exceeds your camera's dynamic range:
- Use graduated ND filters for landscape photography
- Consider bracketing exposures for HDR processing
- Expose for the highlights and recover shadow detail in post-processing (if shooting RAW)
Practice Makes Perfect
The best way to master natural light is through consistent practice and observation. Keep a "light journal" noting the conditions that produced your favorite images. Over time, you'll develop an intuitive understanding of how to work with the light in any situation.
Remember that "perfect" light depends on your creative vision. Sometimes the most interesting photographs come from challenging lighting conditions that force you to think creatively!
What's your favorite lighting condition to shoot in? Share your experiences and favorite natural light photographs in the comments below!