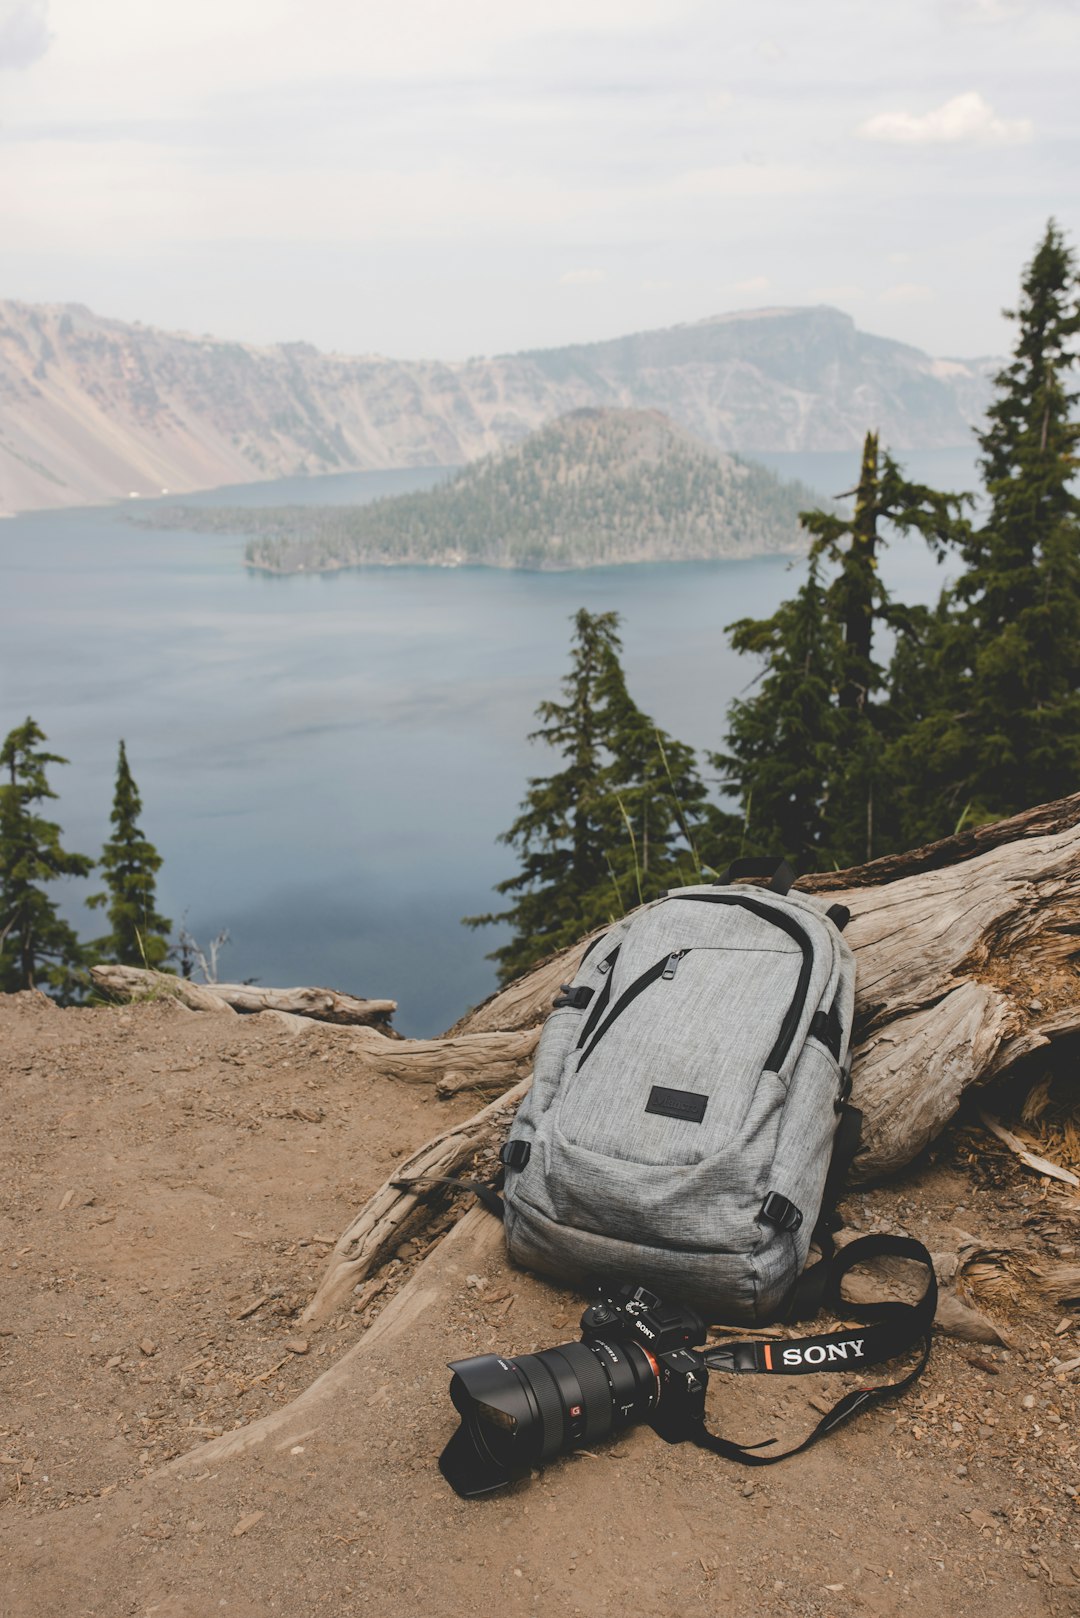
Capturing a stunning landscape is only half the journey to creating a breathtaking photograph. The digital darkroom is where your image truly comes to life, allowing you to enhance the mood, correct technical issues, and emphasize the elements that drew you to the scene in the first place.
In this guide, we'll explore professional post-processing techniques specifically for landscape photography, focusing on non-destructive workflows that preserve image quality while maximizing impact.
The Foundations: Setting Up Your Workflow
Shoot in RAW
Before we dive into editing techniques, it's crucial to start with the right file format. RAW files contain significantly more data than JPEGs, giving you greater flexibility in post-processing. With RAW files, you can:
- Recover highlights and shadows that would be lost in JPEGs
- Make substantial white balance adjustments without quality loss
- Apply more aggressive edits without introducing artifacts
- Work with higher bit-depth for smoother gradients in skies
Organize Before You Edit
Before diving into creative adjustments, establish a consistent workflow:
- Import and organize images with metadata (location, keywords, ratings)
- Back up original files before editing
- Use a non-destructive editor (Lightroom, Capture One, or similar)
- Create virtual copies for different edit versions
Global Adjustments: Building the Foundation
Lens Corrections
Start by applying lens corrections to remove distortion, vignetting, and chromatic aberration. Most editing software includes lens profiles that automatically correct these issues based on your camera and lens combination.
Basic Exposure Adjustments
With landscape photos, a balanced approach to exposure often works best:
- Set white and black points to establish the full tonal range
- Recover highlights in bright skies without making them appear unnatural
- Lift shadows to reveal detail while maintaining depth
- Adjust mid-tone contrast to enhance dimension
White Balance for Mood
While accurate white balance has its place, landscape photography often benefits from creative white balance choices:
- Warmer temperatures enhance golden hour scenes and autumn landscapes
- Cooler temperatures emphasize the mood of foggy mornings or winter scenes
- Split toning/color grading can add complementary colors to highlights and shadows
Advanced Techniques: Taking Your Landscapes to the Next Level
Exposure Blending
Many landscape scenes exceed the dynamic range of even the best cameras. Exposure blending combines multiple exposures to capture detail in both highlights and shadows:
- Manual blending: Use layer masks in Photoshop to combine exposures based on luminosity
- HDR software: Programs like Aurora HDR or Photomatix offer automated blending with customizable results
- Luminosity masks: Create precise selections based on brightness values for natural-looking blends
Focus Stacking
To achieve front-to-back sharpness in scenes with close foreground elements:
- Shoot multiple frames with different focus points
- Use Photoshop's Auto-Blend Layers feature or dedicated software like Helicon Focus
- Fine-tune the blend with manual masking if necessary
Creative Color Grading
Color can dramatically affect the mood and impact of your landscape:
- Color harmony: Enhance complementary colors (blue skies against orange rock formations)
- Split toning: Add color to highlights and shadows separately
- HSL adjustments: Target specific colors to enhance or subdue them
- Color theory: Use analogous or complementary color schemes for cohesive looks
Local Adjustments: Refining Your Image
Graduated and Radial Filters
These tools allow you to apply adjustments to specific areas:
- Graduated filters for skies and horizons
- Radial filters to highlight focal points or vignette specific areas
- Range masks to refine adjustments based on color or luminance
Dodging and Burning
Selectively lightening and darkening areas creates depth and guides the viewer's eye:
- Dodge (lighten) to emphasize focal points and create highlights
- Burn (darken) to add drama to skies and create visual weight
- Use adjustment brushes with low flow for subtle, buildable effects
Targeted Contrast Adjustments
Selective contrast enhances texture in specific areas:
- Increase clarity/texture in rocky areas or detailed foliage
- Reduce clarity in misty areas or smooth water for ethereal effects
- Apply contrast selectively to create depth between foreground, midground, and background
Finishing Touches: Polishing Your Landscape
Sharpening
Apply sharpening strategically:
- Use masking to limit sharpening to detailed areas
- Apply stronger sharpening to foreground elements
- Reduce sharpening in smooth areas like skies to prevent noise
Noise Reduction
Balance noise reduction with detail preservation:
- Apply luminance noise reduction first, then color noise reduction
- Use masks to apply stronger noise reduction in shadow areas
- Consider specialized software like Topaz DeNoise AI for challenging high-ISO images
Final Checks
Before exporting your masterpiece:
- Check edges for halos or artifacts from overzealous adjustments
- Review at different zoom levels to ensure natural-looking results
- Consider how the image will appear on different displays and in print
- Step away and return with fresh eyes before finalizing
Developing Your Style
As you master these techniques, you'll develop your own processing style. Save presets for your favorite adjustments, but always treat each image individually—the goal is to enhance the unique qualities of each landscape, not apply a one-size-fits-all look.
Remember that effective post-processing enhances reality rather than replacing it. The most compelling landscape photographs maintain a sense of authenticity while elevating the scene's natural beauty.
What are your favorite post-processing techniques for landscape photography? Share your tips or before-and-after examples in the comments below!


